8-Quart Pressure Cookers: Multi-Use Tested
By Arjun Mehta • 15th Mar
When you're scaling multi-use pressure cooker cooking from four servings to fourteen, the choice of an 8-quart pressure cooker is not about counter space; it is about predictability. The right high-volume pressure cooking model lets you batch efficiently, store freezer-friendly portions, and know exactly how long dinner will take. But capacity alone means nothing if the machine won't seal consistently, pressure drifts during the cook, or preheat times blow your timeline. If your cooker struggles to seal or hold pressure, run through our pressure seal troubleshooting checklist before assuming the unit is faulty. This guide cuts through the spec sheets and answers the questions that actually matter in a busy kitchen.
FAQ: Choosing and Using Large-Capacity Pressure Cookers
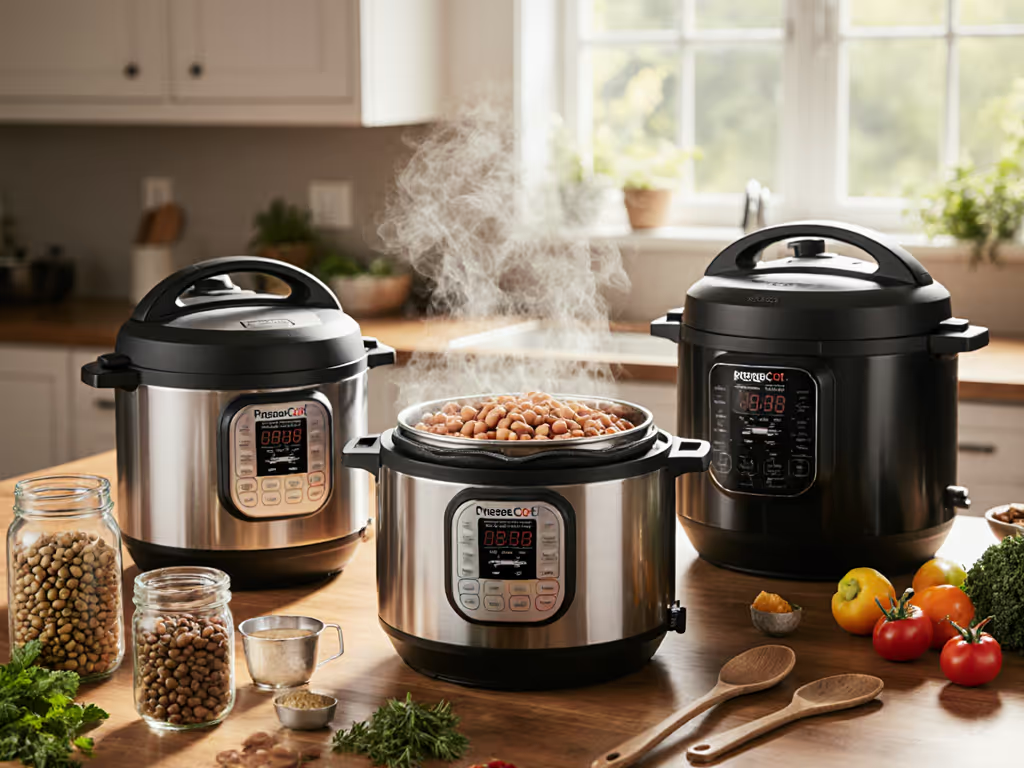
What's the Real Difference Between 8-Quart Models?
Three measurable factors separate them: heating power, inner-pot design, and pressure stability.
Heating power sets the pace. A 1200W element (found in entry-level models) reaches pressure slower than a 1400W model, which itself falls behind a 1500W design. Once you know how long it takes to come up to pressure for a certain amount of food, you can plan the rest of your meal around it. The difference is not academic; it is 5 to 12 minutes of preheat variance depending on load and liquid volume. Time that difference across weekly batch cooking, and the cumulative loss of control compounds.
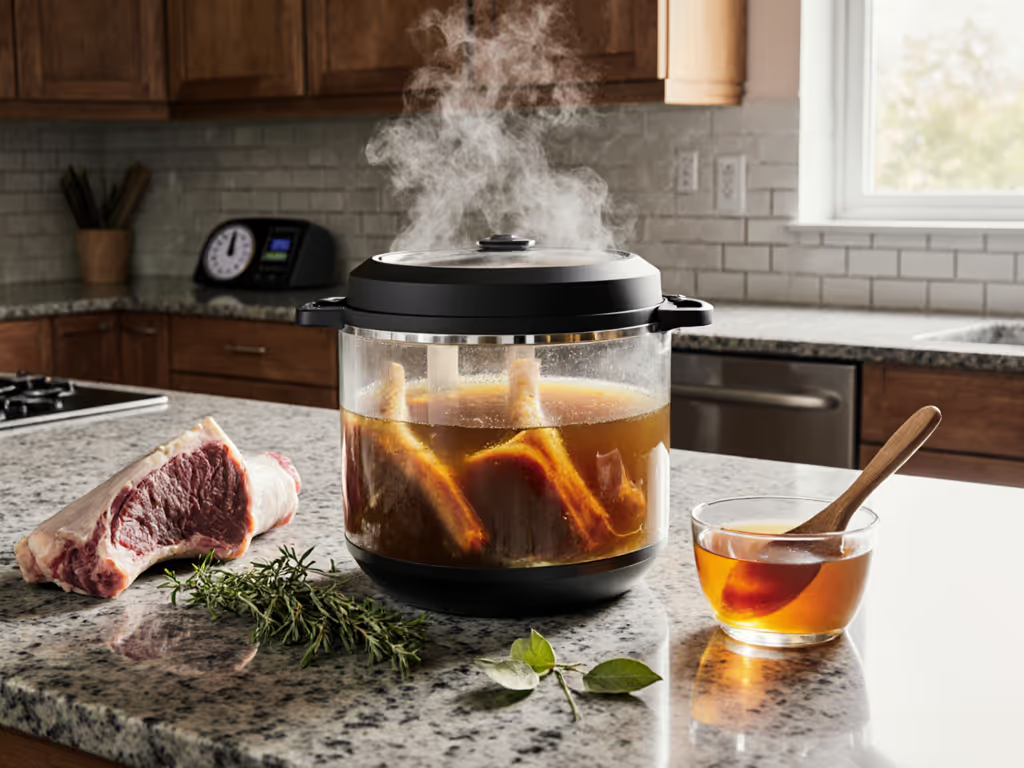
Inner-pot design affects heat distribution and handling. Models with tri-ply stainless-steel bases distribute heat more evenly than thinner alternatives, a fact confirmed in sautéing tests where cheaper thin pots scorch aromatics unevenly. The Instant Pot Pro 8QT adds silicone handles to its inner pot, a practical upgrade that eliminates fumbling with wet pot-holders when removing a full, hot vessel. This detail matters less on paper than it does at 9 PM when you're tired.
Pressure stability determines texture consistency. Reliable models maintain steady pressure throughout the cycle and don't drop unexpectedly mid-cook. Overshoot or drift, and beans turn mushy or remain undercooked in the same batch.
How Do You Size a Recipe for 8-Quart Bulk Cooking?
The maximum fill line is not a suggestion: it is a safety boundary. For family meal prep pressure cookers, the rule is straightforward: fill to two-thirds capacity for grains and legumes, one-half for foods that foam (oats, beans with baking soda). Exceeding this risks vent clogs and BURN errors that derail your entire prep day.
Liquid minimums also bind your scaling math. Most electric models need at least 1 to 1.5 cups of liquid to reach pressure; you can't reduce this without risking overheat detection failure. When you're tripling a recipe, the liquid ratio often needs adjustment downward (since surface area scales differently than volume), but it can't drop below the minimum. Measure your specific model's requirements in a quiet moment; write them on a card and tape it inside a cabinet door. What gets measured gets reliably repeated in busy kitchens.
What About Time Adjustments for Altitude or Batch Size?
Altitude raises boiling points and extends cook times. Above 2,000 feet, expect 5-10% longer cooking, depending on elevation. If you're at 5,000+ feet, that margin widens. Before moving or starting a new routine, log your altitude and test a known recipe (dried beans, rice) once to establish your personal baseline.
Batch size changes pressure-build time but not necessarily cook time at pressure. Filling an 8-quart model to two-thirds takes longer to pressurize than filling it to one-third, yet once pressure is reached, the cooking duration remains the same. This asymmetry trips up many cooks: they assume bigger batches mean proportionally longer total time, then find themselves with overcooked food. Instead, accept that larger batches cost you preheat minutes but gain you efficiency per serving.
Why Do Some Models Release Pressure So Violently?
Direct steam vents allow pressure to escape in a straight jet, which is fast but loud, messy, and can trigger starch foaming and protein splattering. Diffused or gentle-release vents (as seen in premium models) channel steam through a wider pattern, cutting noise and splatter by half. Neither method is safer; both are engineered for safety, but gentler release reduces foam eruptions and makes kitchen life quieter.
Natural release (letting pressure drop on its own) takes 10-30 minutes depending on contents, but it's gentler on texture. Quick release (manually venting) takes 2-3 minutes and suits recipes where residual heat would overcook food. Neither is inherently better; they serve different textural goals. Know your model's release buttons and practice on water-only runs until muscle memory handles it in the dark. For a deeper dive, learn when to use natural vs quick release for different foods.
How Do You Prevent BURN Errors During High-Volume Cooking?
The BURN error fires when the heating element detects that the bottom of the pot is too dry or too hot. For brand-specific messages and fixes, see our pressure cooker error codes guide. It's a safety mechanism, but it's also a workflow killer. In bulk cooking efficiency runs, it often means your carefully planned day stalls mid-afternoon.
Prevention follows a numbered protocol:
-
Deglaze the inner pot after every sauté step. Pour in your braising liquid or broth, scrape the bottom with a wooden spoon, and don't skip this step just because you're in a hurry.
-
Layer ingredients strategically. Place dense, wet ingredients (braising liquid, tomatoes) on the bottom, then proteins and vegetables above. Avoid dry rubs sitting directly on the hot bottom.
-
Use the trivet or a steamer rack if you're doing pot-in-pot cooking (a smaller vessel nested inside for grains or yogurt). The rack keeps the inner pot's bottom clear of contact.
-
Test your liquid volume before pressure starts. At 1 cup of liquid per 6 quarts of capacity, you're at minimum; at 1.5 cups, you're safer. Measure once in your kitchen and write it down.
-
Don't rely on high sauté mode for extended browning. Use medium sauté for anything longer than 3-4 minutes. High mode heats aggressively and can scorch thin liquid before you add your next ingredient.
What Cooking Functions Actually Matter for Meal Prep?
Entry-level models offer 6-13 presets. Premium models list 28 or more. Most home cooks use fewer than five: pressure cook (high and low), slow cook, sauté, and keep-warm. The rest are convenience variations (sous vide, sterilize, cake mode) that automate settings you can adjust manually if you understand the underlying mechanics.
For large batch pressure cooking, focus on these essentials:
- High/Low pressure modes with adjustable time (in 1-minute increments)
- Sauté mode with adjustable temperature (to prevent BURN errors)
- Natural and quick release options, not automatic-release-only
- A progress display showing which stage you're in (preheat, cook, release)
- Keep-warm function (invaluable when the rest of dinner isn't ready)
Adjustable presets matter more than the count. A model with 13 customizable programs beats one with 30 preset-only modes because you can adapt timing for altitude, ingredient age, and batch size without starting from zero each time.
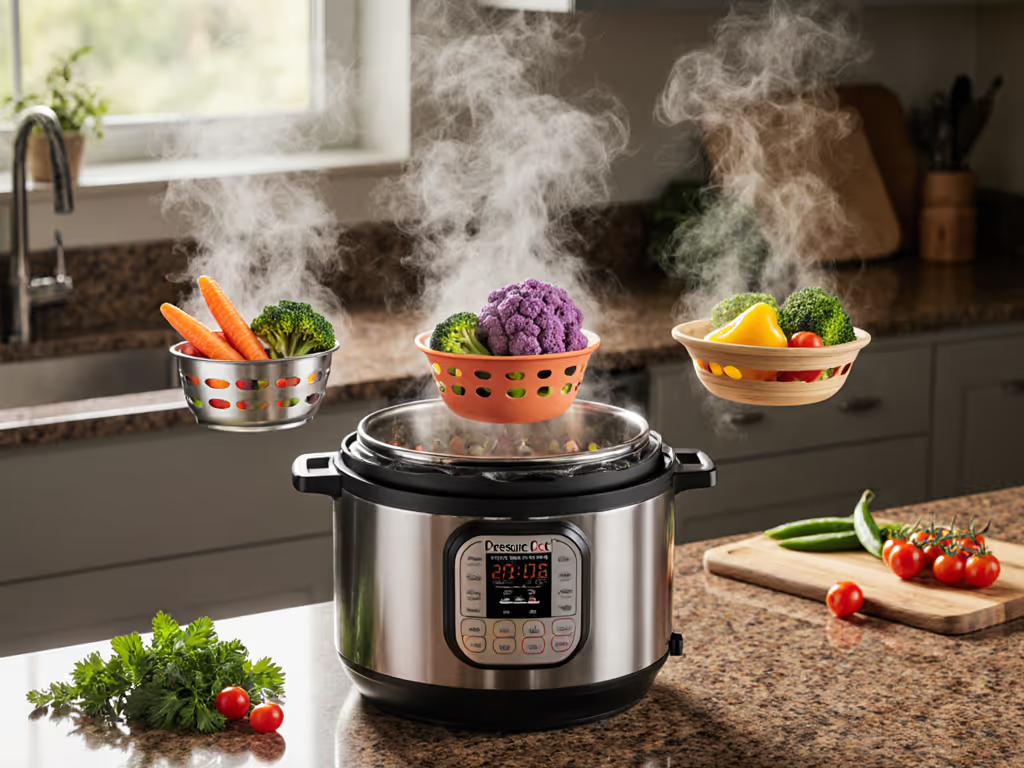
How Do You Test Doneness Across Bulk Batches?
Internal temperature is your first check: pull one protein sample from the center of the batch (not the edge), insert a meat thermometer, and record it. Beans should be fully soft when squeezed gently between thumb and forefinger, no grainy centers. Rice should be tender with no hard core but not mushy.
Since 8-quart batches are too large to taste-test fully, take three samples (top, middle, bottom) before declaring the batch done. Large pots sometimes cook unevenly, especially if you've filled them to capacity. If the top layer is overdone and the bottom is perfect, you've learned that next time you'll fill to one-half to two-thirds capacity and run two batches instead.
Log these observations in a simple spreadsheet: date, recipe, ingredient source (fresh, frozen, canned), batch size, time at pressure, doneness result. After six to eight runs, patterns emerge. This is bench-tested, not buzzworded: the data tells you what works in your kitchen.
Is an 8-Quart Model Worth the Counter Space?
For a household of four cooking once weekly, no, a 6-quart offers 90% of the versatility with 25% less footprint. For families of six or more, or singles meal-prepping two weeks' worth monthly, yes. The math: an 8-quart cooks roughly 2.5x the volume per cycle, so you halve your preheat and pressure-build overhead per serving.
Energy efficiency tilts toward larger batches too. The heating element runs once for 12 portions instead of twice for 6, so per-serving energy cost drops notably. The time cost (your time, not electricity) is the real win: one 90-minute batch beats three 40-minute batches if you account for setup, cleanup, and the cognitive load of scheduling.
Which Safety Features Actually Protect You?
All modern electric models exceed safety standards. The critical features are:
- Lid-lock mechanism (won't open until pressure is zero)
- Overheat protection (cuts power if temperature spikes)
- Pressure-relief valve (releases excess pressure if sensors fail)
- Anti-block vent (prevents foam from clogging the steam port)
Models with 10+ labeled safety mechanisms aren't inherently safer than those with 8, the redundancy matters, but the specifics are less important than consistent performance. What matters is the manual: it should clearly state safe operating ranges, fill limits, and release protocols. If the manual is vague, choose a different model.
Beyond the machine: never attempt to open the lid before pressure is zero, never bypass the lid lock, and never disable venting to speed things up. A pressure cooker is an instrument that demands protocol. Treat it as such, and it's safer than a stovetop full of boiling pots.
What's the Long-Term Cost: Model Price vs. Operating Expense?
An 8-quart model costs $150-$350 depending on features. Its lifespan is typically 5-8 years with normal use. The silicone sealing ring (a wear item) costs $15-$25 and needs replacement every 1-2 years if you cook frequently.
Operating cost is minimal: pressure cooking uses roughly 40% of the energy of oven braising for the same result because it's sealed and efficient. Over a year of weekly batch cooking, the electric bill difference is negligible, maybe $10-$15.
The true value lies in food waste avoided (fewer undercooked batches that you throw out) and time reclaimed (batch cooking two weeks instead of four separate meal-prep sessions). For pragmatic home cooks, this compounds quickly.
Moving Forward: Measurement as Your Baseline
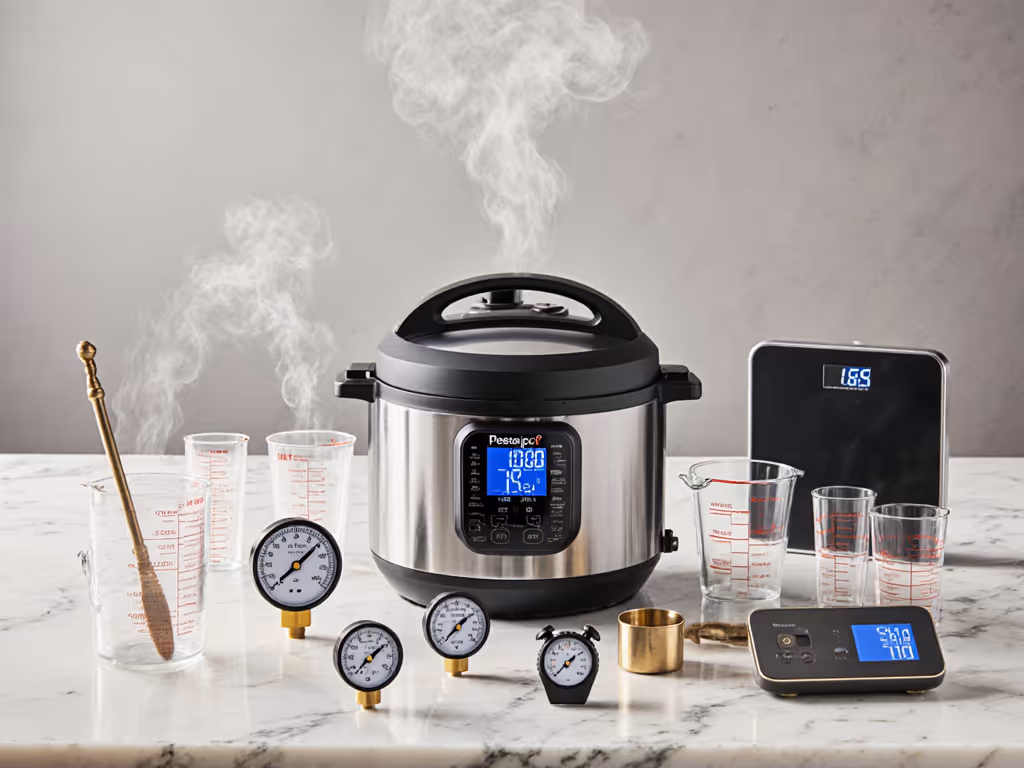
The market flooded with pressure cooker models, and every one claims reliability. But reliability is measured, not marketed. Before buying, find user reports that log specific data: preheat times at your altitude, pressure stability during the cook, release behavior with actual food loads. Avoid reviews that only say "great" or "disappointing," they are opinions, not instruments.
When you bring your 8-quart model home, run three test batches (water, then a simple bean recipe, then a braise) and record times, pressures, and outcomes. This first-use logging prevents surprises during high-stakes batch cooking. Share these baselines with anyone else in your household who'll use the cooker; a standardized workflow prevents accidents and failed meals.
The 8-quart pressure cooker is a system, not just an appliance. Treat it with the same precision you'd apply to any tool that holds heat and pressure, and it becomes the backbone of efficient, repeatable, and genuinely convenient meal prep. That's when capacity stops being a marketing number and starts being a real advantage.
Related Articles