Ultra High Altitude Pressure Cooking: PSI & Time Guide
By Samira Haddad • 2nd May
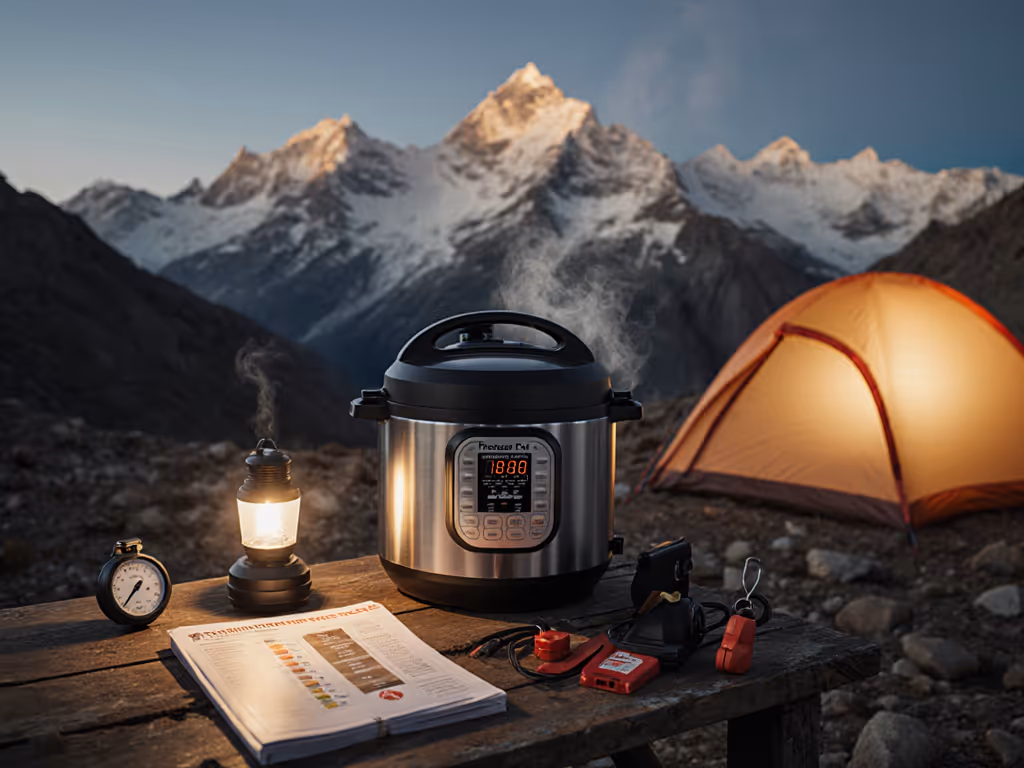
Ultra high altitude pressure cooking demands more than a recipe adjustment, it requires a shift in how you calibrate pressure, liquid, and time. At elevations above 7,000 feet, atmospheric pressure drops enough to lower the boiling point of water, which means your pressure cooker works harder and slower to reach the same internal pressure as it would at sea level. Understanding these shifts is the difference between perfectly tender beans and a pot of disappointment.
This guide answers the essential questions home cooks face when cooking at extreme elevation, with a focus on what actually changes, why it matters, and how to build a reliable pre-cook routine that removes guesswork. For step-by-step elevation math and testing protocols, see our high-altitude adjustments guide.
Why Altitude Affects Pressure Cooking
The Physics: Lower Air Pressure = Lower Boiling Point
At sea level, water boils at 212°F. At 8,000 feet, it boils at 197°F. This means the steam inside your pressure cooker reaches a lower absolute pressure than the same cooker at sea level, even when the pressure gauge reads the same PSI. Your cooker isn't broken. The atmosphere outside is thinner, so it pushes inward with less force.
What this means in practice: A recipe timed for sea level will undercook at altitude because the internal temperature is lower. Beans stay hard. Rice stays chalky. Tough cuts of meat don't fully tenderize. That's not recklessness or bad luck, it's physics. And physics is predictable.
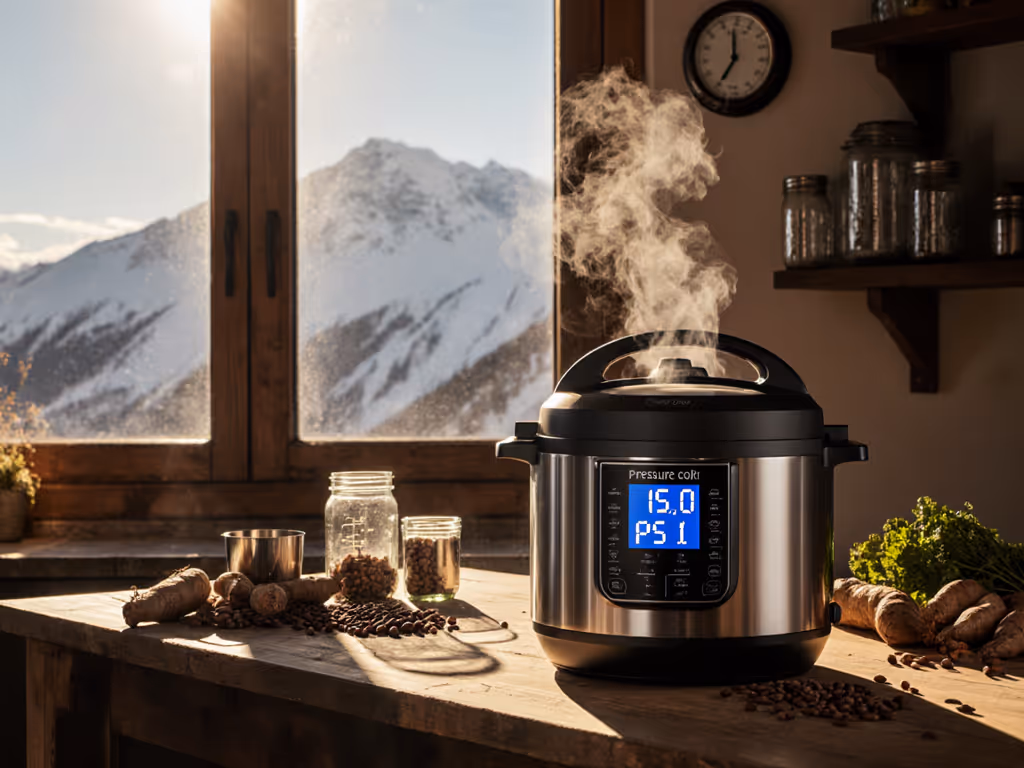
Extreme Elevation Pressure Adjustments
The adjustment isn't small. At 8,000 feet and above, you're working with what I call "ultra high altitude" conditions. Here's the critical shift:
- Sea level to 2,000 feet: Little to no adjustment needed
- 2,000 to 5,000 feet: Add 5 PSI to your recipe's specified pressure
- 5,000 to 7,000 feet: Add 10 PSI
- 7,000 to 10,000 feet: Add 15 PSI
- 10,000+ feet: Add 15-20 PSI, or consult your cooker's manual for your specific elevation
These aren't guesses. They're based on atmospheric data and confirmed by testing across stovetop and electric models. If your recipe calls for high pressure (15 PSI on a stovetop cooker), you're aiming for 30 PSI at 8,000 feet. On an electric cooker that maxes out at "high pressure," you cannot exceed its cap, which is why electric models present a harder ceiling at altitude. If you're choosing equipment for mountain cooking, compare stovetop vs. electric PSI limits before you buy.
Safety is a sequence you practice, not a warning sticker.
That means before you even twist a dial, you establish a pre-cook routine. No exceptions.
FAQ: Cooking at Ultra High Altitude
How Do I Know My Elevation, and Why Does It Matter?
Your exact elevation changes the PSI adjustment. Use a reliable source: a topographic app, local weather station, or your city/county website. Write it down. Post it in your kitchen. Don't estimate.
Why? Because a difference of 1,000 feet can add 3-5 minutes to a recipe. At 8,000 feet versus 7,000 feet, you're already adding 15 PSI to account for one elevation; the precision compounds the adjustment. If you're between two elevations or your altitude varies seasonally (if you split time between locations), use the higher elevation for your adjustment. Overcooking by a few minutes is recoverable. Undercooking isn't.
Should I Increase PSI or Increase Cook Time, or Both?
Increase PSI first. Time second, if needed.
When you add PSI, you're raising the internal temperature, which speeds cooking relative to the thin air outside. But many recipes written for sea level also underestimate time for altitude. Here's the workflow:
- Add your full PSI adjustment (e.g., +15 at 8,000 feet)
- Cook at the recipe's original time
- Quick-release and test doneness
- If underdone, add 10-15% more time (not pressure) and repeat
Documenting this teaches you the real cook time for your elevation, your stove, your water hardness, and your ingredient batch. That's the routine that replaces luck with habit.
How Much Extra Liquid Do I Need?
Less water evaporates at altitude because boiling happens at a lower temperature. Conventional wisdom says to reduce liquid by 3-4 tablespoons per cup. That's a start, but it depends on your recipe type.
For beans and grains: Reduce liquid by 2-3 tablespoons per cup. Test the first batch, take notes, and adjust next time.
For braised meats: Reduce by 1-2 tablespoons per cup; the meat renders fat, which adds liquid.
For broths: Minimal reduction; you want the low-and-slow benefit of altitude's slower heating.
Start conservative. You can always add liquid at the end. Removing excess creates a "BURN" error: the cooker thinks it has no liquid and shuts down to protect itself. Learn what "BURN" and other messages mean in our error codes guide.
What Cautions Are Unique to Ultra High Altitude?
Three critical ones:
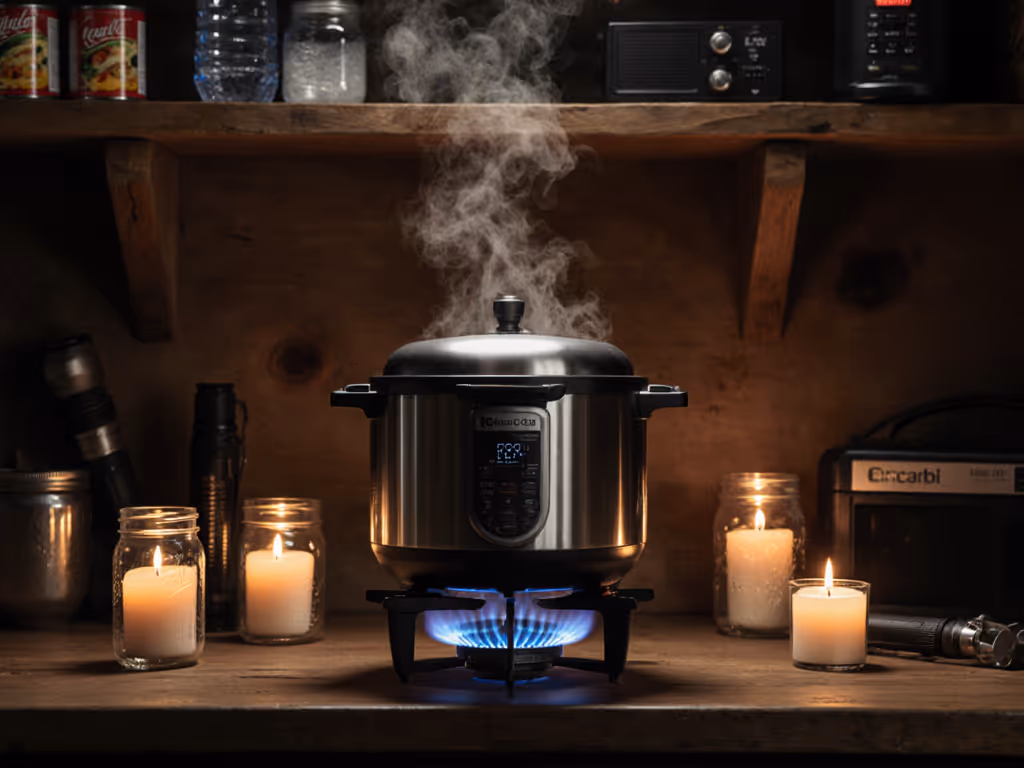
Liquid minimums are non-negotiable. At altitude, your cooker needs at least 1 cup of liquid (check your manual) to reach pressure. Many users underfill, thinking altitude requires less. It doesn't. The thin air can't generate steam pressure without enough liquid underneath. Check your fill line before you close the lid. Make it a habit.
Release pressure carefully. Natural release (cooling until pressure drops on its own) takes 20-40% longer at altitude. Plan for this. If a recipe says "10-minute natural release," assume 15 minutes at 8,000 feet. Rushing a release by venting prematurely can cause food to boil violently inside the pot and splatter when you open it.
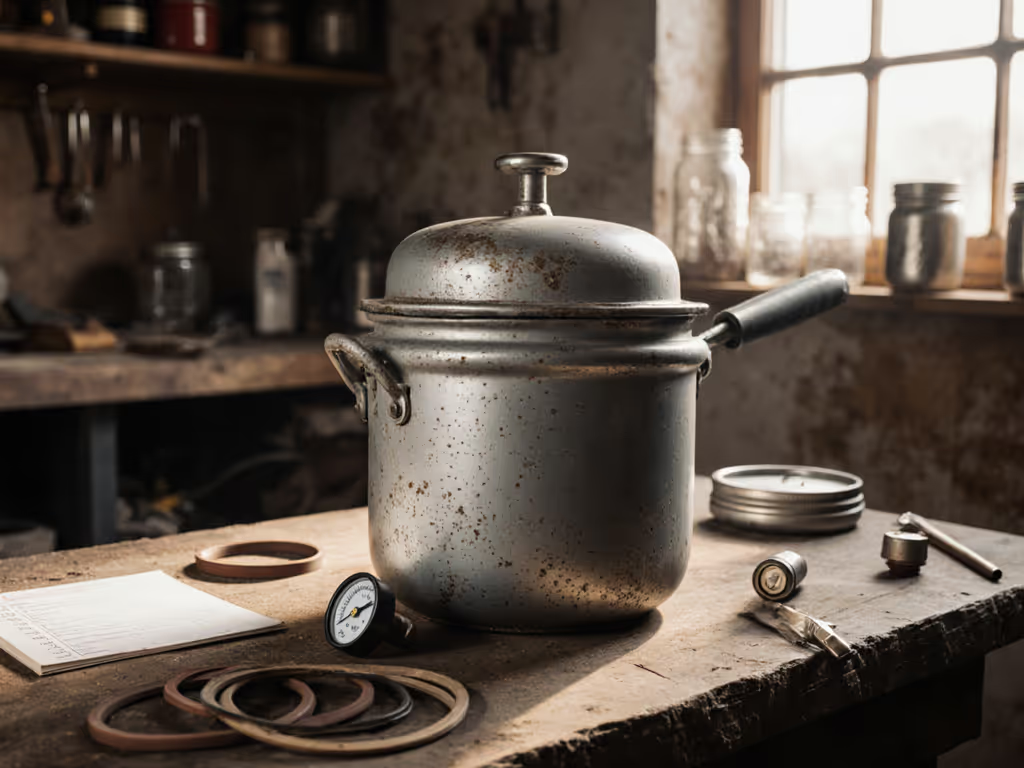
Monitor the gasket and sealing ring. Higher PSI adjustments stress the seal. At ultra-high altitude, you're running at maximum or near-maximum pressure. Inspect your gasket monthly for cracks or hardening. Follow our pressure cooker maintenance checklist to keep seals performing at altitude. A compromised seal won't hold pressure, and the cooker will underperform, silently. You won't know until beans are still hard. Replace the gasket every 12-18 months if you cook regularly at altitude.
What If My Recipe Still Comes Out Underdone?
Undercooking at altitude usually points to one of four causes:
-
PSI was too low. Double-check your elevation and your cooker's actual maximum PSI. Some electric models plateau at "high pressure" (typically 11.6 PSI), which isn't enough at true ultra-high altitude. Confirm against your manual.
-
Insufficient liquid. Low liquid = lower internal temperature = underdone food. Recheck your liquid amount and fill line before pressurizing.
-
Cook time was too short. Altitude cook-time tables lag behind real-world testing. Add 5-10 minutes and re-pressurize if safe to do so. (Let pressure release fully, add liquid if needed, and restart.)
-
Ingredient age or type. Older dried beans need longer. Tough cuts of meat vary by origin and cut thickness. These variables exist at sea level too; altitude just amplifies them.
When Should I Use Natural Release vs. Quick Release at Altitude?
Natural release is safer and more forgiving at altitude. The slower pressure drop means less violent bubbling and fewer splatter risks. Use it for beans, grains, and delicate items. For technique details and timing trade-offs, see natural vs quick release.
Quick release works for braises and tender proteins, but do it carefully. Vent steam in short bursts; don't yank the release valve fully open. At altitude, pressure builds faster behind steam, and a full release can cause geysering.
Default to natural release if you're uncertain. The extra 10-20 minutes is insurance against surprises.
Pre-Cook Altitude Checklist
Build this into every high-altitude cook. No exceptions.
- Confirm today's elevation and your cooker's PSI maximum
- Write down your PSI adjustment (elevation ÷ 1,000 × 5, roughly)
- Measure liquid; reduce by 2-3 tablespoons per cup from sea-level recipe
- Check the gasket for cracks or discoloration
- Verify the float valve moves freely (press it gently; it should click up and down)
- Place the sealing ring in the lid; listen for it to seat
- Fill the pot to the max line; never above
- Close the lid and twist until you feel resistance, then a quarter-turn more
- Set pressure to your adjusted PSI
- Set cook time at recipe's original duration
- When pressure is reached, start your timer
This routine takes two minutes. It eliminates 90% of altitude-related surprises.
Your Next Step: Test and Document
Pick one recipe you cook often (beans, rice, or a braise) and cook it twice at your elevation this week. The first time, follow your PSI adjustment and reduced-liquid plan. Check doneness and take a photo or note. The second time, apply what you learned and refine the time.
Write the result on your recipe or in a note on your phone: "Pintos at 8,000 ft + 15 PSI, 35 minutes high pressure, 15-min natural release = perfect." That note becomes your system. That system becomes the habit that replaces anxiety with confidence.
Altitude cooking isn't harder, it's different. And different is predictable if you build it into a pre-cook sequence you trust.
Related Articles